How to Winterize Your RV Water System: A Guide from Fellow Campers
 Andrew
June 11, 2026
Andrew
June 11, 2026
- Walk you through the complete winterization process to protect your RV plumbing from freeze damage and get you back on the road faster come spring.
- Share how to properly drain, dry, and store your RV water filter
- Share both antifreeze and compressed air methods so you can choose the approach that works best for you
At All Filters, we're not just in the water filtration business—we're RV enthusiasts ourselves. That's actually why we developed the SP-RV100 inline water filter. We looked at the standard big-box filters RVers had been buying year after year and knew we could do better. That includes upgrading to catalytic carbon and adding an innovative descaler stage that not only filters but actually helps remove existing scale buildup in your plumbing. We get it because we live it: there's nothing quite like pulling into a campground and knowing your system is protected.
But before we can enjoy those spring and summer adventures, we face the less exciting but critically important task of winterizing our RV water systems. Freezing temperatures can devastate RV plumbing. This guide walks through the winterization process we use. Let's face it: we winterize our RVs not because it's fun, but because spending a few hours now means we'll be back on the road faster when camping season returns.
Why Winterizing Your RV Water System Matters
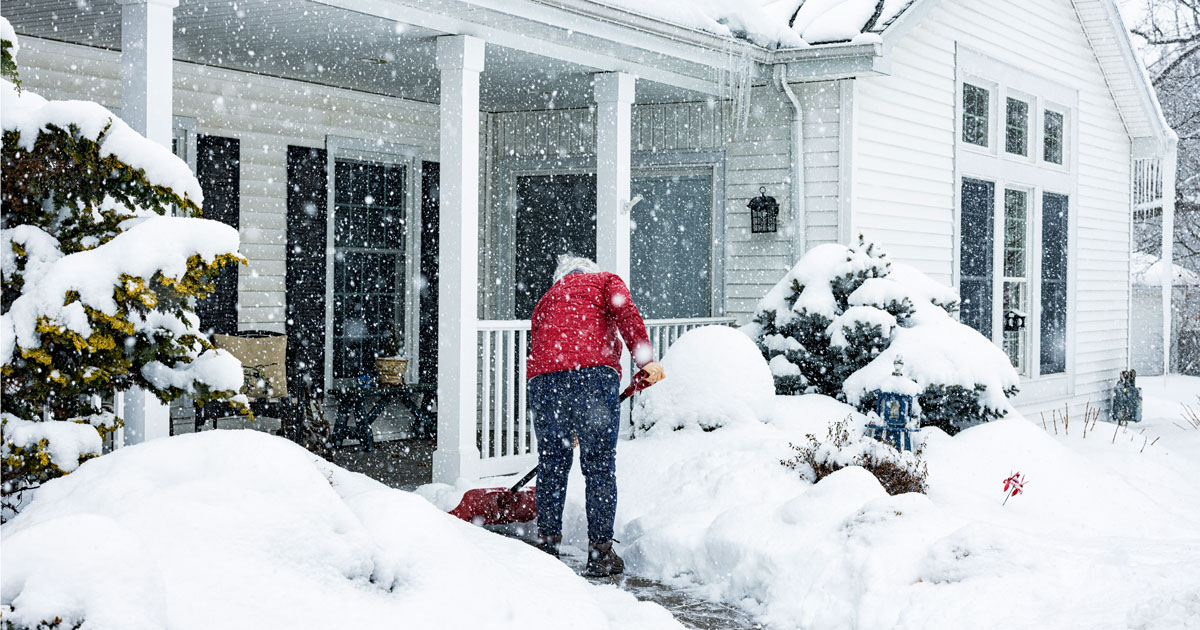
Water expands when it freezes. In the confined spaces of RV plumbing, that expansion creates immense pressure that cracks fittings, splits lines, and damages pumps and tanks. A single night of unexpected freezing can cause thousands of dollars in damage and delay your spring travel plans by weeks while you hunt down leaks and replace components.
RV plumbing freeze protection isn't optional if temperatures in your storage area drop below 30°F for extended periods. Even if you're storing in a garage or under cover, cold snaps happen, and water trapped in low points or fixtures will find a way to cause problems. Seriously. Don't skip this. The winterization process removes this water entirely or replaces it with antifreeze that won't freeze and expand.
How to Winterize Your RV Water System: Step-by-Step
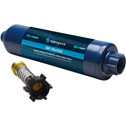
Step 1: Remove and Store Your Water Filters
Start by removing any inline RV water filters from your system. Our SP-RV100 and similar cartridge filters should be removed from their housings before winterization. If your filter saw only light use during the season—say, just a few weekends of camping—you might be able to save it for next year with proper storage.
To store a lightly-used filter, rinse it thoroughly with clean water and shake off excess moisture. Let it air dry completely in a well-ventilated area for 24-48 hours, turning it occasionally to ensure all surfaces dry. Once completely dry (any remaining moisture can harbor mold or bacteria), seal it in a clean plastic bag or airtight container and store in the refrigerator. Label it with the date so you remember when you stored it.
If your filter enjoyed heavy use all season (call us envious), just replace it fresh in spring. Most RV inline filters are designed for single-season use anyway, and the peace of mind from starting with a new filter is worth the modest cost of a replacement cartridge.
Step 2: Drain Your System
Empty all holding tanks starting with the black water tank, then the gray water tank (this sequence helps rinse your sewer hose). Close the valves once drained. Turn off your water pump and water heater, allowing the water heater to cool if it's been recently used. Open the water heater drain plug and let it empty completely.
Locate your RV's low-point drains. They'll be underneath the rig with labels or stickers. Open these drains to empty the fresh water lines. Open all faucets, flush the toilet, and run the outside shower if equipped. This releases any remaining water and relieves pressure in the lines.
Step 3: Bypass the Water Heater
Most RVs include a water heater bypass valve, though some older models don't. If yours has one, switch it to the "winterize" or "bypass" position. This prevents antifreeze from filling your water heater tank (which would waste a few gallons of antifreeze).
Step 4: Choose Your Winterization Method
Use non-toxic RV antifreeze (typically pink, propylene glycol-based). You'll need 2–3 gallons for most travel trailers and motorhomes, up to 5–6 gallons for large fifth wheels. Connect a water pump converter kit or place the intake tube directly into antifreeze containers. Turn on the water pump and open each faucet (cold first) until antifreeze flows out. Flush the toilet until antifreeze appears in the bowl. Pour a cup of antifreeze down each drain to protect P-traps.
Or, if you have an air compressor, attach it to your water inlet using a blow-out plug (never exceed 50–60 PSI, but start at 30). With all faucets closed, introduce air pressure, then open faucets one at a time to blow water out. Work from highest to lowest fixtures. This method leaves no antifreeze to flush out in spring but requires more precision to ensure all water is expelled.
Some RV owners do both, clearing the water with a compressor then adding antifreeze.
Other than protecting the pipes, the big thing we do is remove our RV's battery. Though you can also choose to leave it in, just disconnect the battery cables and connect to a trickle charger.
Preparing for Spring: De-Winterizing Basics
Come spring, you'll essentially reverse these steps. If you used antifreeze, flush the entire system thoroughly by running fresh water through all lines until it runs completely clear. This usually means filling and draining your fresh water tank at least once. If you used compressed air, reconnect everything, open your water heater bypass, and fill the system with fresh water.
Before your first trip, sanitize your fresh water system by adding a quarter cup of household bleach per 15 gallons of tank capacity, filling the tank completely, running water through all faucets until you smell bleach, letting it sit for 12 hours, then draining and refilling with fresh water until the bleach smell disappears.
Install fresh water filters, check all connections for leaks with the pump running, and you're ready to enjoy another season of camping with clean, filtered water. The time you spend winterizing now pays off in spring when you're not troubleshooting leaks or replacing burst fittings.
Why is winterizing an RV water system necessary?
What is the best method to winterize RV plumbing — antifreeze or compressed air?
What should I do with my RV water filter before winterizing?
Do I need to bypass the water heater when winterizing?
How do I de-winterize my RV water system in spring?
RELATED PRODUCTS
SpiroPure SP-RV100 Multi-Stage RV/Marine Inline Water Filter
List Price: $79.99
Our Price: $39.99
Save: $40.00
SpiroPure SP-RV100-2PK Multi-Stage RV/Marine Inline Water Filter (2 Pack)
List Price: $139.96
Our Price: $69.98
Save: $69.98

RV Filters
SpiroPure RV water filters offer carbon, sediment, and salt-free descaler media in one filter!
Easy and Versatile Installation!
Filtration for Your Entire Camper