How to Install a Whole House Water Filter
 Andrew
May 20, 2026
#carbonfilter
#descaler
#how-to
#sedimentfilters
#wholehome
#whole-house-filter
Andrew
May 20, 2026
#carbonfilter
#descaler
#how-to
#sedimentfilters
#wholehome
#whole-house-filter
- What to know before you start including location, tools, and shutoffs
- A simplified step-by-step guide to installing a multi-stage cartridge system
- When DIY makes sense and when to call a plumber
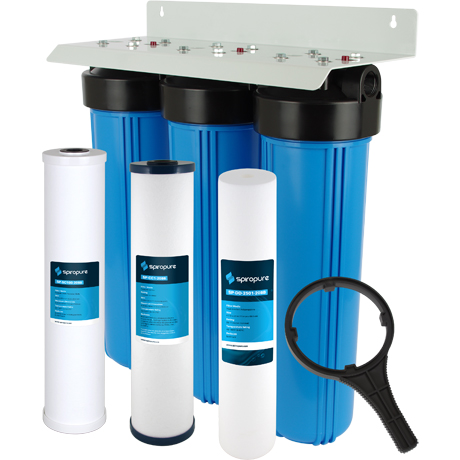
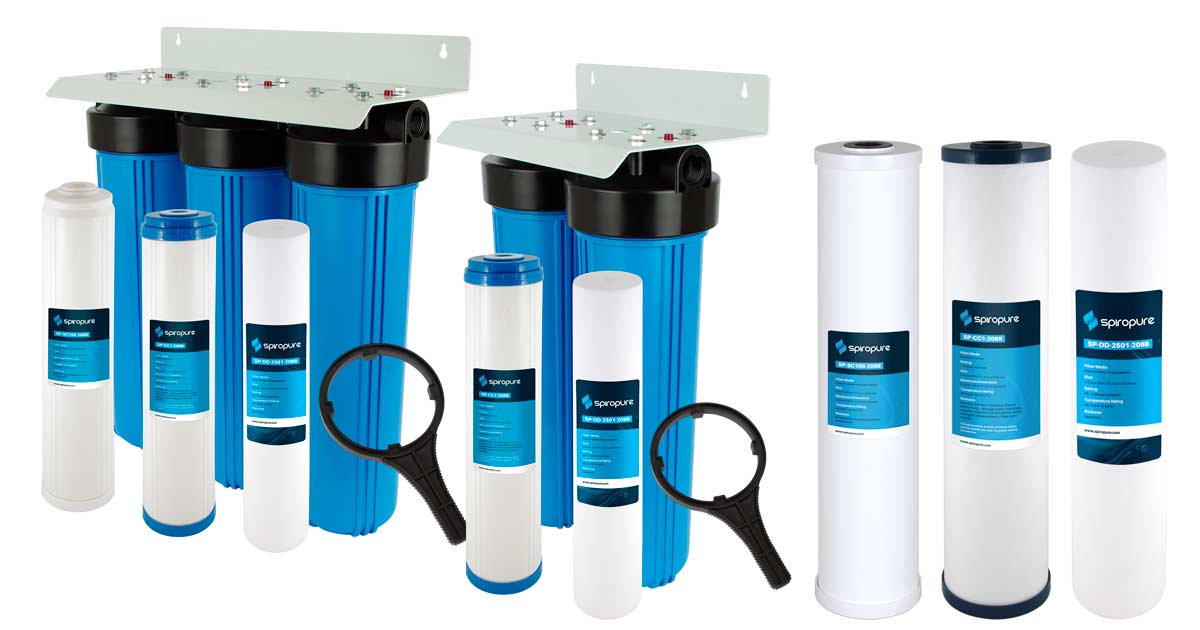
SpiroPure SP-WH300 Whole House Water Filter (Sediment, Carbon, & Descaler)
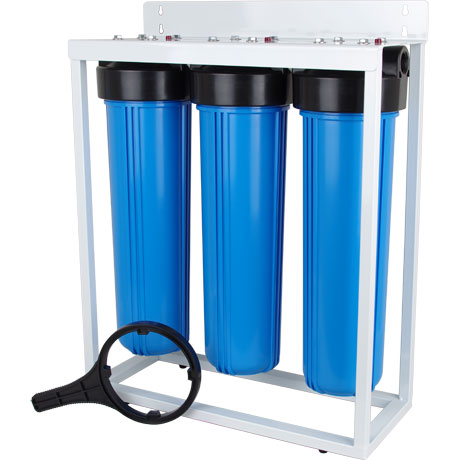
SpiroPure 3 Stage Water Filter #20 Triple Housings 4.5x20 with Filter Stand
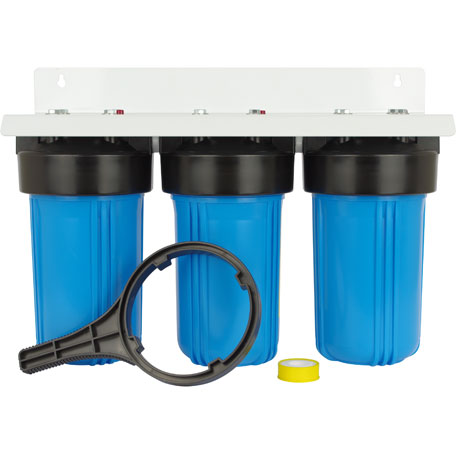
SpiroPure Triple 10" Water Filter Housing 3 Stage Big Blue Three-Housing
Step-by-Step Guide to Installing a Whole House Water Filter
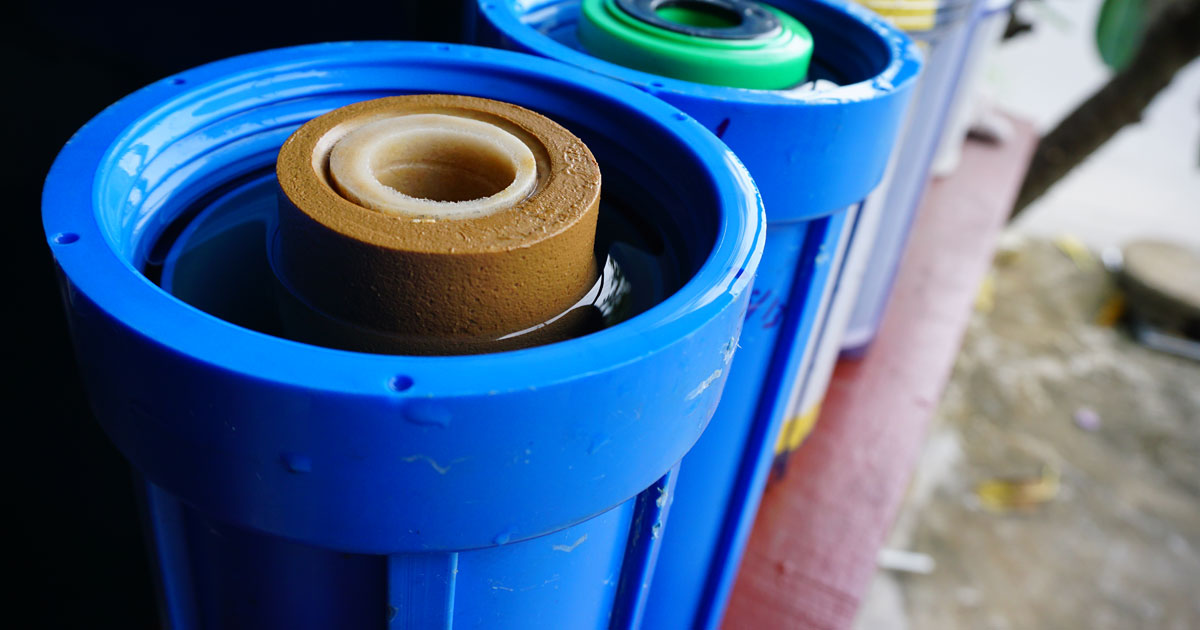
Before you begin, choose your installation location carefully. The filter housing should go on the main cold water supply line, after the meter or pressure tank but before any branch lines or the water heater. You'll want enough clearance below the housing to unscrew the sump from the cap and remove filters. At least two inches are required but it's helpful to have more room. Gather your tools: a pipe cutter or hacksaw, push-fit or compression fittings appropriate to your pipe material, Teflon tape, a filter wrench, and a bucket for draining residual water.
Step 1: Shut Off the Water Supply
Locate your main shutoff valve and turn it fully off. Open a faucet downstream to relieve pressure and drain water from the line where you'll be cutting. Place a bucket beneath the work area as there will be residual water in the pipe even after the pressure drops. If you're working on a well system, also switch off the well pump at the breaker to prevent the system from pressurizing unexpectedly while the line is open.
Step 2: Cut the Pipe and Attach the Filter
Mark your cut locations to accommodate the filter housing assembly with enough room for inlet and outlet fittings on each side. Use a pipe cutter for a clean, square cut. Tough cuts make leak-free connections harder to achieve. It's helpful to install a shutoff valve on both the inlet and outlet sides of the filter if your system doesn't already have bypass capability, but a three-valve bypass loop is even better.
Thread the inlet and outlet ports of the housing using good quality Teflon tape (two to three wraps on the threads in the direction of tightening) and connect to your fittings. Hand-tighten, then snug with a wrench. Do not overtighten; filter housings are typically made of durable plastic but can crack under excessive torque. Mount the housing bracket to a wall stud or structural support to bear the weight of the filled housing and cartridges.
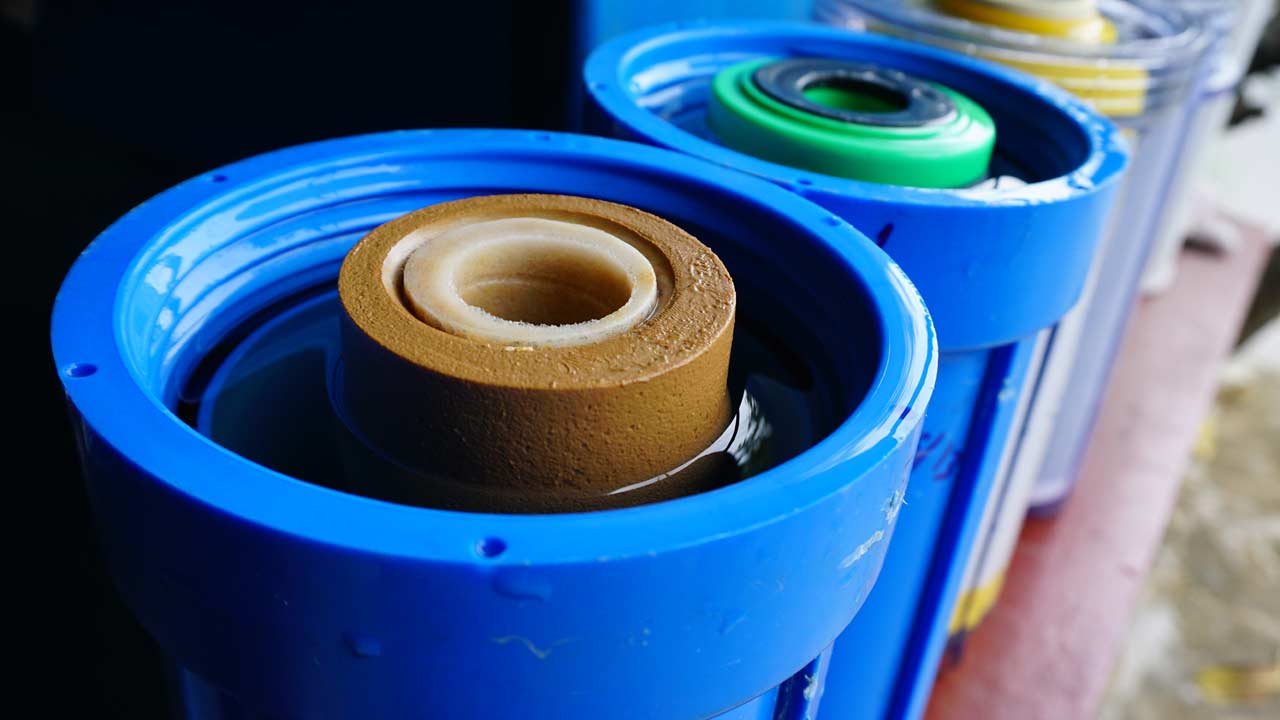
With fittings secure and cartridges loaded per the manufacturer's sequence (sediment first, carbon second, another carbon or descaler third if applicable; see our guide on whole house filter replacement sequence for detail on proper filter order), hand-tighten the housings onto the sump collar.
Step 3: Test the System
Before restoring full pressure, open the inlet shutoff slowly to allow water to fill the housings gradually. Watch for leaks at every fitting and sump connection. A slow fill makes any drips easy to catch and tighten before they become problems, while also moderating the rush of water pressure into the cartridges. Once the housings are full and pressurized with no visible leaks, open the outlet valve and run a cold faucet downstream until the water runs clear. Carbon cartridges release harmless carbon fines on first use; flushing for three to five minutes clears them and protects any downstream equipment.
DIY Installation vs. Professional Installation
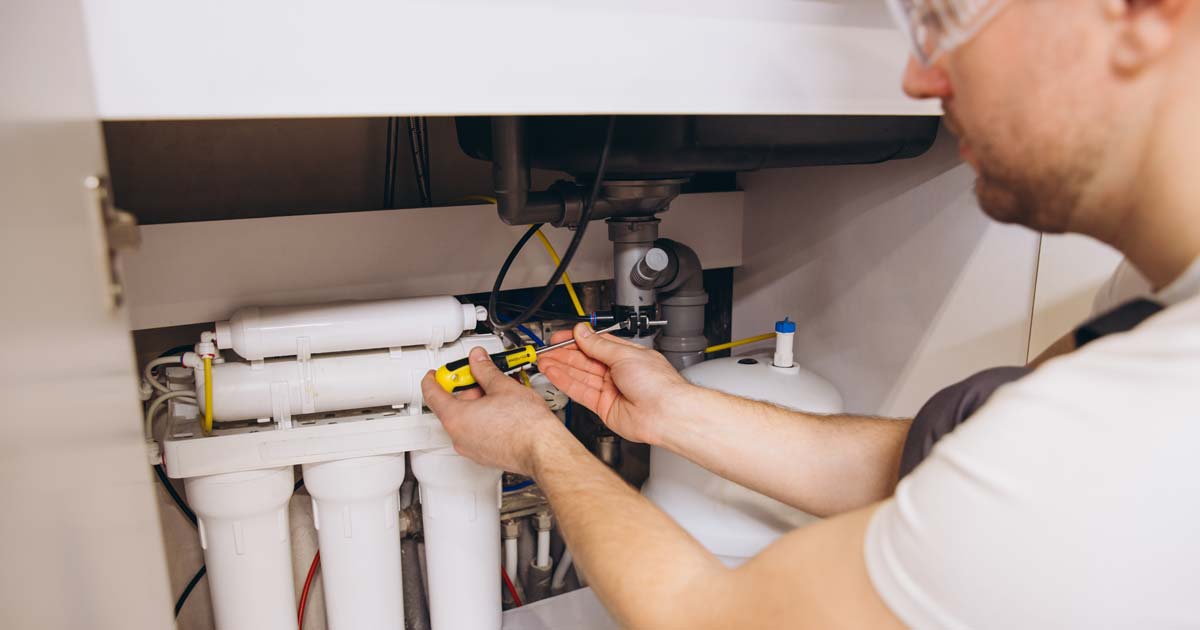
A handy homeowner comfortable with basic plumbing such as cutting pipe, working with fittings, and understanding water pressure can typically install a multi-stage cartridge system in a few hours. The two-stage SpiroPure SP-WH200 and three-stage SP-WH300 systems arrive fully assembled with a mounting bracket, Teflon tape, and filter wrench included, which removes much of the guesswork from hardware prep.
Professional installation makes more sense in a few situations: when the main line requires soldering or if your home has older galvanized or difficult to access pipe that needs careful handling; when you're not certain of your shutoff locations or pipe sizing; or when a whole-house system is being integrated with a water softener or UV purifier that involves additional plumbing connections. Expect professional installation to add $150 to $400 to your project cost depending on labor rates and complexity.
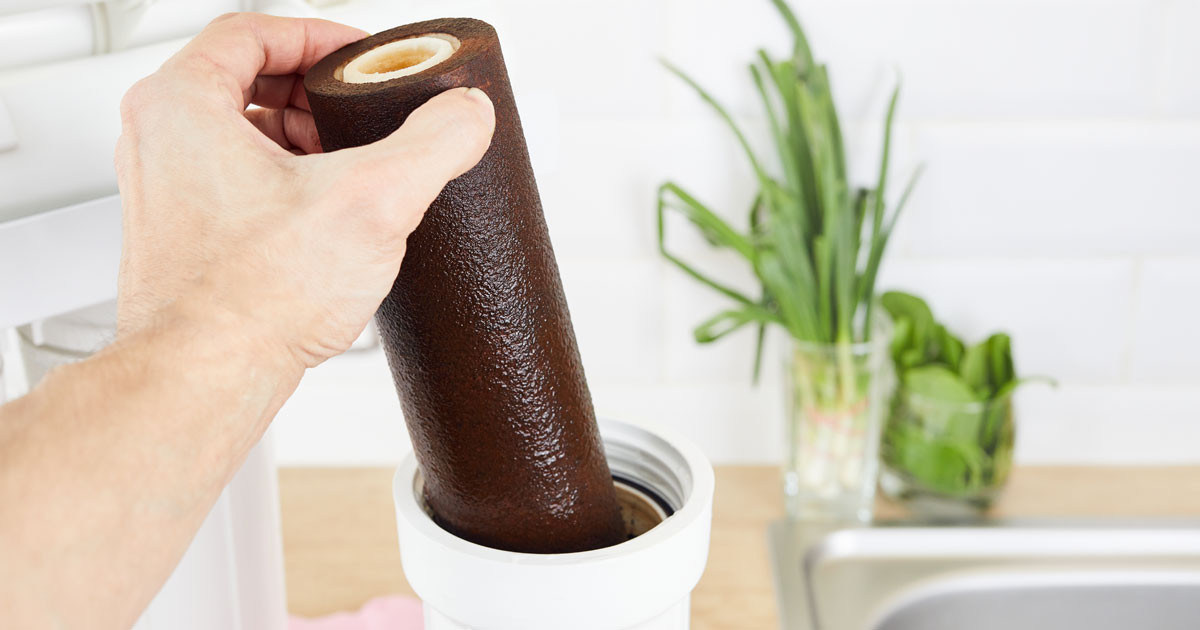
For ongoing maintenance, whole house filter replacement is a straightforward DIY task. Sediment cartridges in well water systems typically need changing every one to three months; carbon cartridges every six to twelve months. Sediment filters should last longer in city water. The filter wrench included with SpiroPure systems makes housing removal manageable without special skills. Setting a calendar reminder tied to your water source and household size is the easiest way to stay on schedule — and to protect the carbon stage from clogging prematurely with sediment.
FAQs on How to Install a Whole House Water Filter
What is the cost of installing a whole house water filter?
How long does it take to install a whole house water filter?
Do I need a professional to install a whole house water filter?
Can I install a whole house water filter myself?
How often should you replace the filter in a whole house water filtration system?
RELATED PRODUCTS

SpiroPure SP-WH325 Whole House Water Filter 3 Replacement Cartridge Set
List Price: $284.44
Our Price: $135.08
Save: $149.36
SpiroPure SP-WH225 Whole House Water Filter 2 Replacement Cartridge Set
List Price: $200.22
Our Price: $95.59
Save: $104.63

SpiroPure SP-WH200 Whole House Water Filter (Sediment and Carbon)
List Price: $438.34
Our Price: $209.84
Save: $228.50