How to Clean Your Refrigerator Ice Maker
 Andrew
October 02, 2026
#filterreplacement
#icemaker
#refrigeratorwaterfilter
Andrew
October 02, 2026
#filterreplacement
#icemaker
#refrigeratorwaterfilter
- Walk through six simple steps to clean your refrigerator's ice maker, bin, and dispenser
- Cover common cleaning mistakes that can damage parts or leave odors behind
- Answer frequent questions about mold, dish soap, and why your ice might smell or taste off
How to Clean an Ice Maker in a Refrigerator in 6 Steps
Unless a component has broken, cleaning your ice maker doesn't require special tools or a service call. Follow these six steps, from powering down safely to running a fresh batch of ice.
Step 1: Turn Off the Ice Maker and Check the Owner's Manual
Before you start, check your refrigerator's owner's manual, or the manufacturer's website for model-specific instructions (an example of one brand is GE's ice maker cleaning and maintenance guide), since designs vary significantly. Turn off the ice maker using its control switch or display settings. Some makes recommend unplugging the refrigerator for a full cleaning. Just don't get distracted during the project so you can wrap up promptly and power back on.
Step 2: Empty the Ice Bin and Remove Detachable Parts
Dump out existing ice, since it probably carries dust and odors that led you to this moment. Take out the ice storage bin, along with detachable pieces as directed by your manual. In-door, top-freezer, and drawer-style ice makers all come apart a little differently, so we can't direct exact actions. But don't force anything, as it risks breaking elements. This is a good moment to confirm your specific model's steps.
Step 3: Wash the Ice Bin and the Removable Parts
Hand wash removable parts in warm water with a mild dish soap and a clean, soft sponge or cloth. Double-check the manual one more time, as some instructions are strict about what not to wash. Rinse thoroughly to remove residual soap and keep it out of your ice. Dry everything completely before returning to the freezer.
Step 4: Clean the Inside of the Refrigerator Ice Maker
Reach in and wipe easily accessible surfaces inside the ice maker with warm, soapy water. A soft brush head or toothbrush is great for reaching into corners. Gently loosen stuck ice with a warm, damp cloth rather than chipping or scraping. Wipe off residue or mineral deposits you can see. You may need a headlamp or light for the best view. Dry thoroughly! Leftover moisture will simply refreeze and cause new buildup. Only use vinegar here if your manufacturer specifically allows it.
Step 5: Clean the Refrigerator Ice Dispenser and Chute
The dispenser is where a lot of odor and buildup problems start. Hold the chute door open, and wipe the ice chute, dispenser opening, drip tray, and the areas around the dispenser paddle or cradle with a warm, damp cloth or a manufacturer-approved cleaner like a vinegar solution. Dry the chute thoroughly when you're done; leftover moisture here is a common cause of ice clumping or frost buildup. Note: in some instances, mold may form inside the water delivery lines. Additional steps must be taken to disconnect the lines and clean them with a manual vinegar flush, or replace them.
Step 6: Reassemble the Ice Maker and Run Fresh Ice Cycles
Once every part is completely dry, reinstall the ice bin and any other removable components, then restore power if you unplugged the refrigerator. Turn the ice maker back on and let it cycle through a couple rounds of ice. Check your manual for how much of that first batch to discard, since early ice can carry traces of your cleaning process.
Common Ice Maker Cleaning Mistakes to Avoid
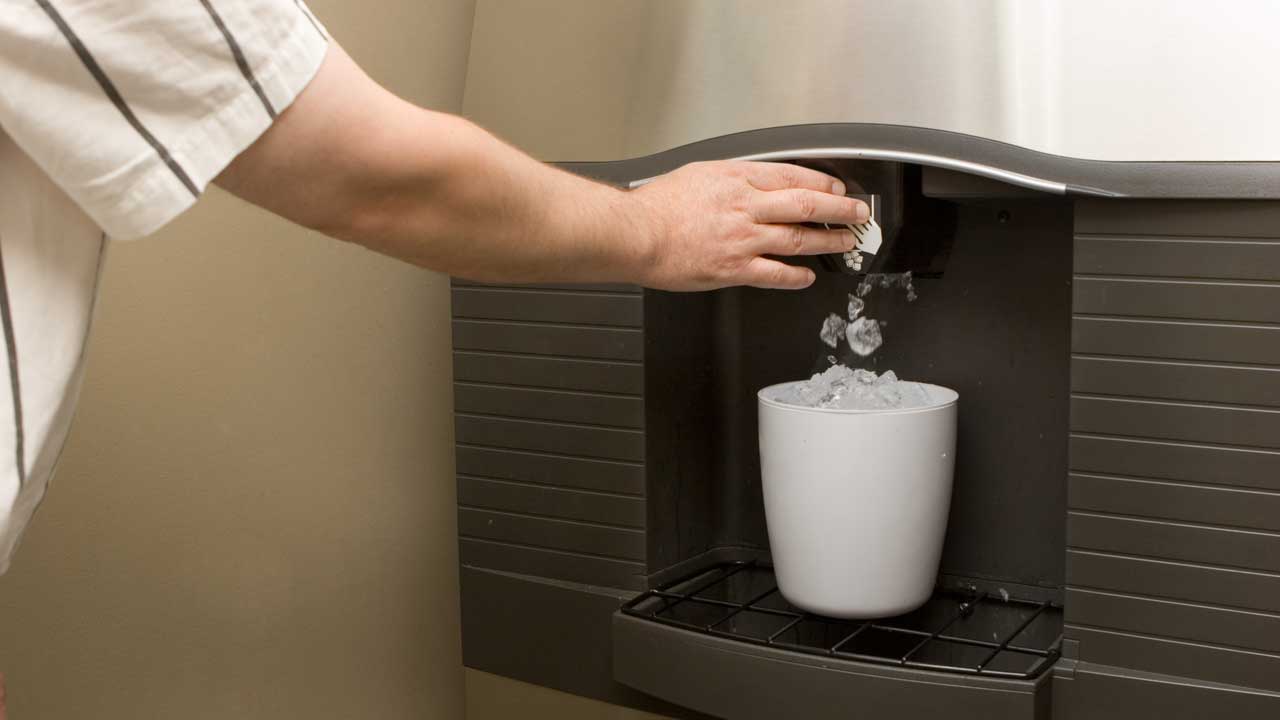
We hope these steps show how easy it is to clean an ice maker in a refrigerator. But before we let you go, please note there are a few mistakes that can undo an otherwise good cleaning. Worse, they could damage your ice maker.
Skip harsh chemical cleaners unless your manual confirms they're safe. Don't use vinegar if the manufacturer advises against it. Confirm removable plastic components are dishwasher-safe if you decide to go that route, and, as mentioned, never scrape stuck ice with a knife or other sharp object.
By way of final reminder, let every part dry completely before reassembly, and don't forget to clean the dispenser chute. Oh, and definitely don't overlook the very common culprit: an overdue refrigerator water filter, which can affect ice quality and flow long after the ice maker itself is spotless. Most refrigerators use the same filter to deliver water both to the dispenser and the ice maker. Either way, keeping fresh ice maker water filters on schedule is as much a part of ice quality as the cleaning itself.
FAQs on How to Clean Your Refrigerator Ice Maker
Can I use Dawn dish soap to clean my ice maker?
Are you supposed to clean your refrigerator ice maker?
How do you get mold out of a refrigerator ice dispenser?
What is the safest way to clean an ice maker in a refrigerator?
Why does the ice from my refrigerator smell or taste bad?
RELATED PRODUCTS

Refrigerator Water Filters
Full line of filters available, including Whirlpool, LG, Samsung, Kenmore, Frigidaire, and more!
Drink Purer, Healthier Water!
Super Value Packs Available

Carbon Filter Cartridges
NSF-certified carbon water filters available in a variety of sizes, media, and micron ratings!
Improve Water Taste and Odor!
Save Even More with Case Packs!

Reverse Osmosis Filters
Choose from Tankless RO, Traditional Tank RO Systems, Countertop RO, and more!
Enhanced RO Filters Most TDS!
Check Out Our Remineralization Options!